
Adding nodes
- Click the Add node button or drag a node type from the palette onto the canvas
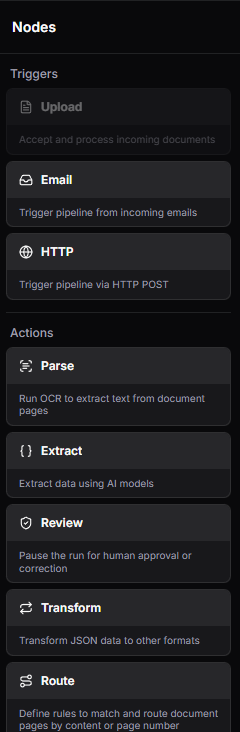
- Choose the node type (trigger, action, or output)
- The node appears on the canvas ready to be configured
Connecting nodes
Click the output handle of one node and drag to the input handle of another node to create an edge. Edges define the flow of data through your pipeline. Rules for connections:- Data flows from left to right (trigger → action → output)
- You cannot create circular connections
- Some node types support multiple input or output connections
- Edges between incompatible node types are prevented
Configuring nodes
Click a node to open its properties panel on the right side of the editor. Each node type has different configuration fields.
Saving and validating
- Click Save to save your current pipeline configuration
- The editor validates your pipeline automatically and shows errors if the configuration is invalid
- Common validation errors: missing trigger, disconnected nodes, missing required configuration