Creating a pipe
- Click New pipe
- Enter a name for your pipe
- Optionally add a description
- Click Create

Pipe detail page
Click any pipe to open its detail page. The main content area shows the files list, all documents uploaded to this pipe with their processing status. The files table includes the following columns:| Column | Description |
|---|---|
| File Name | Original name of the uploaded document |
| Size | File size |
| Pages | Number of pages in the document |
| Status | Current processing status |
| Created | Upload timestamp |
Action buttons
The top-right corner of the pipe detail page has four action buttons:- Upload: open the upload dialog to add new files to this pipe
- Pipeline: open the visual pipeline editor to build and configure the processing workflow
- Runs: view all pipeline runs for this pipe
- Edit Pipe: rename the pipe, update its description, view its email address, configure retention, and change its status

Pipe actions
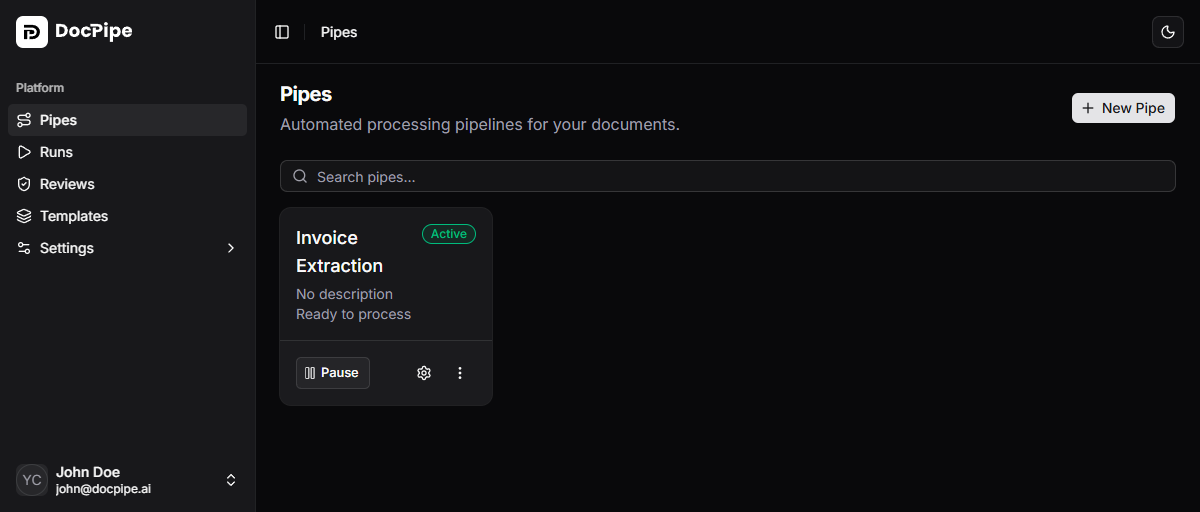
From the pipes list or detail page, you can:- Activate: enable the pipe to accept files and run the pipeline
- Pause: pause the pipe without deleting it. Paused pipes do not accept new files or trigger runs
- Delete: permanently remove the pipe and all its data